Experiencing issues with your HDMI port on your PC can be frustrating, especially when trying to connect to external displays. The HDMI (High-Definition Multimedia Interface) is a crucial component for transmitting uncompressed video data and digital audio signals from a source device to a compatible display device.
Many users encounter HDMI connectivity problems that hinder proper display output or audio transmission. Understanding the root cause of these issues is vital to resolving them effectively. In this guide, we will walk you through systematic troubleshooting approaches to identify and fix the specific cause of your HDMI port issues on your system.
By exploring comprehensive solutions, from basic connection checks to advanced driver updates, you will be able to rectify the issue and prevent future connectivity problems.
Troubleshooting HDMI port problems on PCs requires a systematic approach. To begin, it’s essential to identify the symptoms and potential causes of the issue.
Common Signs of HDMI Port Issues
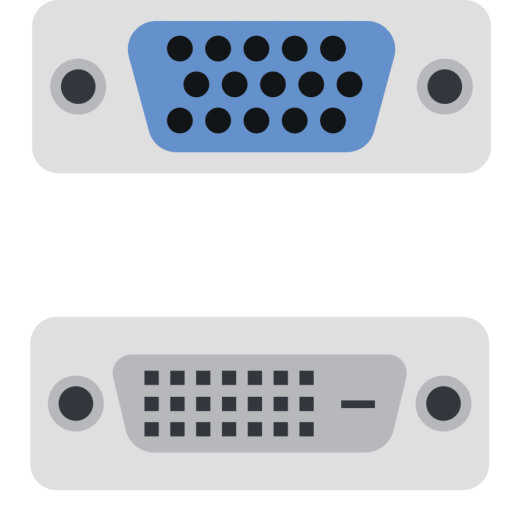
Signs that your HDMI port may have an issue include a black screen or a message that says “no input,” pixelated or distorted screen, or a tight or loose port. Your HDMI cable sends high-definition pictures and sound from your PC to another device, like a monitor, TV, or projector.
No signal detection (black screen)
Display messages indicating “no input”
Pixelated or distorted images
Intermittent connection issues that cause the display to flicker or cut out
Why HDMI Ports Stop Working
HDMI ports can stop working due to various reasons, including physical damage, dust and debris accumulation, outdated or corrupted graphics drivers, or system software conflicts after updates. For more information on troubleshooting HDMI port issues, you can visit this helpful resource.
Physical damage such as bent pins or broken connectors
Dust and debris accumulation within the port
Outdated or corrupted graphics drivers
System software conflicts after updates
Understanding whether your HDMI problem is hardware or software-related is crucial for determining the appropriate troubleshooting approach. By identifying the root cause, you can avoid unnecessary repairs or replacements and get your HDMI port working again.
Quick Fixes for HDMI Port PC Not Working
Having issues with your PC’s HDMI port? There are several quick and effective fixes to get it working again. When dealing with HDMI port issues, it’s essential to start with the basics to avoid unnecessary complications.
Check Physical Connections
Begin by examining the physical connections. Ensure the HDMI cable is firmly seated in both the PC port and the display device without being forced or loose. Improper connections are the most common and easily fixable causes of HDMI issues. Make sure your cable fits snugly into the HDMI port—not too loose, not too tight. Cleaning both the PC’s HDMI port and the display device’s port using compressed air can also help remove dust and debris that might be interfering with the connection.
Test Different HDMI Cables
Your HDMI might not be working due to a faulty cable. Try unplugging the cable you’re using and switching to another one to see if that solves your problem. Inspect your HDMI cable for visible damage such as fraying, kinks, or bent connectors. Testing alternative cables can help determine if the cable itself is the source of the problem rather than the HDMI port.
Restart Your Devices
Sometimes restarting and reconnecting your devices is an effective method to get your HDMI port working again. Disconnect all your HDMI cables from your ports. Shut down all your devices (your computer, monitor, and TV) completely and unplug their power cables. Leave them for five minutes. Then, plug the power cables back in, connect the HDMI cables back to your devices, and power on the devices. For more detailed troubleshooting steps, you can visit this helpful resource.
By following these steps, you should be able to resolve the issue with your PC’s HDMI port. Ensuring a proper connection and checking the HDMI cable are crucial first steps. If the problem persists, it may be worth exploring further troubleshooting options.
Configuring Display Settings for HDMI Output
To resolve HDMI connectivity issues, adjusting your display settings is a vital step. Ensuring that your display settings are correctly configured can make a significant difference in achieving a proper HDMI output on your PC.
Accessing Display Settings in Windows
To check your computer’s display settings, press the Windows logo key and P on your keyboard simultaneously. This action will open a list of display modes, allowing you to select the most appropriate option for your needs.
Access Windows display settings quickly by pressing the Windows logo key + P.
For more detailed display configuration, right-click on your desktop and select “Display settings” or navigate to Settings > System > Display in Windows 10/11.
Understanding Display Modes
The four primary display modes include “PC screen only,” “Duplicate,” “Extend,” and “Second screen only.” Understanding these modes is crucial for configuring your display settings effectively.
“PC screen only” uses just the main display.
“Duplicate” mirrors the same content on all connected displays.
“Extend” creates a larger desktop across all displays, enhancing productivity.
“Second screen only” uses just the external display connected via HDMI.
Setting Up Multiple Monitors
When setting up multiple monitors, the “Extend” mode is typically the most useful for productivity. It allows you to drag windows between displays, effectively increasing your workspace. You can also configure display resolution, orientation, and scaling options individually for each connected display through the Windows display settings menu.
Configure display resolution and scaling options for optimal image quality.
Designate which monitor serves as your primary display through the display settings.
Updating and Reinstalling Graphics Drivers
Ensuring your graphics drivers are up-to-date is a critical step in troubleshooting HDMI port problems. Outdated, corrupted, or incompatible graphics drivers are among the most common causes of HDMI issues on Windows systems.
Checking Your Current Driver Status
To check your current driver status, access Device Manager by right-clicking the Start button or searching for it in the Windows search bar. Expand the “Display adapters” category to view your current graphics hardware and driver information.
Right-click your graphics adapter in Device Manager and select “Properties” to check your current driver version and date. Navigate to the “Driver” tab to view detailed information about the installed driver.
How to Update Graphics Drivers
To update your graphics drivers automatically through Windows, right-click your graphics adapter in Device Manager, select “Update driver,” and choose “Search automatically for updated driver software.” For more reliable and feature-complete drivers, visit your graphics card manufacturer’s website (such as NVIDIA, AMD, or Intel) to download the latest official drivers specifically designed for your graphics hardware and Windows version.
Reinstalling Graphics Drivers
If updating doesn’t resolve the HDMI issue, completely reinstall your graphics drivers by uninstalling the current driver through Device Manager, restarting your system (which will install a basic display driver), and then installing the latest manufacturer driver. For persistent driver-related problems, use Display Driver Uninstaller (DDU) in Safe Mode to completely remove all traces of your current graphics drivers before performing a clean installation of the latest drivers.
Advanced Troubleshooting for Persistent HDMI Issues
When HDMI issues persist, it’s time to delve into more advanced troubleshooting techniques. Despite attempting basic fixes, some HDMI problems may require a deeper dive into system settings and configurations.
Running Hardware and Devices Troubleshooter
Windows includes a built-in Hardware and Devices Troubleshooter that can automatically detect and fix issues related to your HDMI port. To access this tool, press Windows + I to open the Settings app, navigate to the Update & Security category, and select the Troubleshoot tab. From there, locate and choose the Hardware and Devices section, then click Run the troubleshooter. This process scans your system for common configuration issues, driver problems, and hardware conflicts that might be affecting your HDMI connectivity.
Starting Your PC in Safe Mode
If the troubleshooter doesn’t resolve the issue, try starting your PC in Safe Mode. This loads Windows with minimal drivers and services, helping to determine if third-party software or drivers are causing the HDMI port issue. To boot into Safe Mode, hold the Shift key while clicking Restart, then navigate through Troubleshoot > Advanced options > Startup Settings > Restart, and select Safe Mode when your computer restarts.
Checking for Recent Software Changes
Recent software installations or updates can sometimes trigger compatibility problems with display outputs. Review your system for any recently installed programs or Windows updates that coincide with the onset of HDMI issues. Consider using System Restore to revert your computer to a previous state when the HDMI port was working correctly. This can undo system changes without affecting your personal files.
As noted by Microsoft, “System Restore can help fix problems caused by a system change, such as installing a new driver or Windows update.”
“If you have recently installed new software or a driver, try uninstalling it to see if it resolves the HDMI issue.”
For persistent issues, it’s also worth checking your system’s BIOS/UEFI settings to ensure that integrated graphics or multiple display outputs are enabled. Examining the Windows Event Viewer for error messages related to display adapters or HDMI connections can provide additional troubleshooting clues.
Conclusion: When to Seek Professional Help
When all else fails, understanding when to seek professional assistance is crucial for resolving HDMI port issues. If you’ve tried the troubleshooting steps outlined in this article and still experience problems, it may be time to consult a professional.
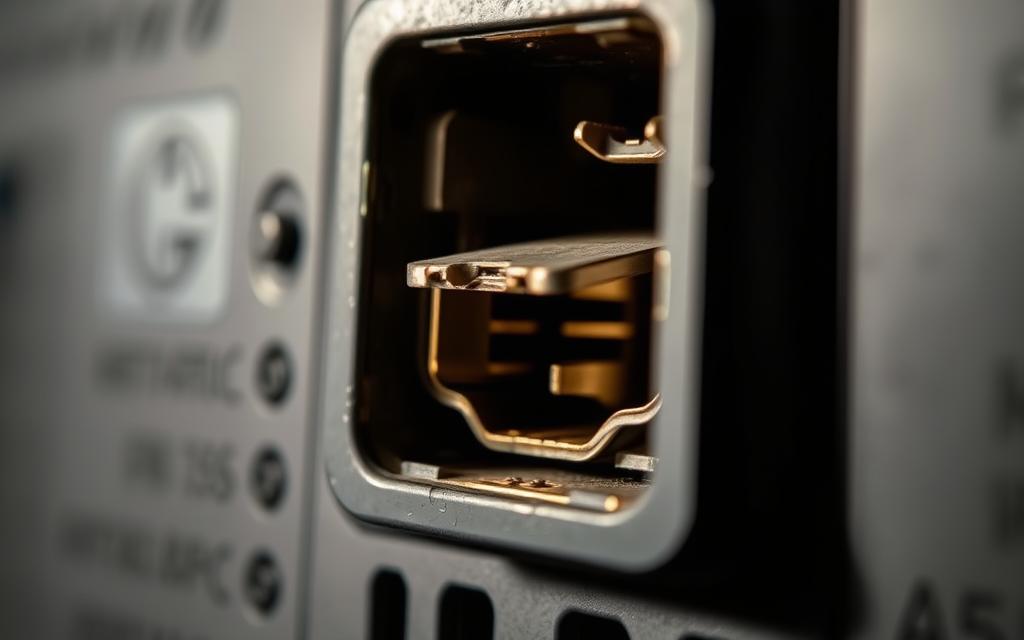
Examine your HDMI port for any visible signs of damage, such as bent or broken pins, and check for debris using a flashlight. If necessary, clean it gently with compressed air. Persistent issues may indicate physical damage, especially on laptops, where ports are integrated into the motherboard.
Before seeking professional repair, ensure your system is fully updated and graphics drivers are current. If issues persist, consider consulting a professional technician for repair or replacement. For desktop computers, adding an external graphics card with HDMI outputs can be a cost-effective alternative.
FAQ
Why is my HDMI connection not displaying on my second screen?
Ensure that your HDMI cable is securely connected to both devices and that your display settings are configured to extend or duplicate your screen.
How do I update my graphics drivers to fix HDMI issues?
You can update your graphics drivers by accessing the Device Manager, locating your graphics driver, and selecting the ‘Update driver’ option. Alternatively, you can visit the manufacturer’s website to download and install the latest driver.
What should I do if my HDMI cable is not working?
Try using a different HDMI cable to rule out any issues with the current one. If the problem persists, check for any damage to the HDMI connector or cable.
How do I configure my display settings to output via HDMI?
Press the Windows logo key + P to access the projection menu, then select the desired display mode. You can also access Display Settings via the Control Panel to configure your display.
Why is there no sound coming from my HDMI-connected device?
Ensure that your device is set as the default playback device in your Sound settings. You can do this by right-clicking on the speaker icon in your system tray and selecting ‘Open Sound settings’.
Can a faulty HDMI port cause issues with my display?
Yes, a faulty HDMI port can cause issues with your display. Try using a different HDMI port on your device or a different device altogether to troubleshoot the issue.
How do I restart my devices to fix HDMI connectivity issues?
Simply power off both devices, wait for a few seconds, and then power them back on. This can often resolve connectivity issues.
What is the purpose of running the Hardware and Devices Troubleshooter?
Running the Hardware and Devices Troubleshooter can help identify and resolve issues with your hardware and devices, including HDMI connectivity problems.
Today, connecting your computer to high-definition displays is crucial. Many need to add an HDMI port to their systems. This could be for gaming, streaming, or boosting their workstation setup. This guide will explain how to add HDMI connections to your computer for both desktop and laptop users. Interestingly, many desktop computers don’t have HDMI…
Understanding ports is crucial for network connectivity, as they enable various applications and services to communicate effectively. With over 65,000 ports available, managing them is essential for a seamless online experience, especially for gaming, remote access, and other networking applications. The Windows operating system, being one of the most widely used, requires careful configuration of…
Modern computers are equipped with various ports that serve as connection points for peripherals and accessories. Understanding the types and functions of these ports is crucial for maximizing your device’s connectivity potential. The number of physical ports on a computer varies significantly between desktops, laptops, and other devices. While the physical count may be limited,…
Modern computers come equipped with a multitude of ports, each serving a specific purpose. The number and types of ports can vary significantly between different models and form factors. From ultrabooks to gaming desktops, the diversity in port configurations caters to a wide range of user needs. Historically, computer ports have evolved from simple serial…
The tech industry is growing fast, making it key to pick a computer science branch that fits your skills and interests. Computer science jobs pay over $145,000 a year on average. By 2032, this field is expected to grow by 23%, showing it’s a promising career path. There are many computer science branches, like Artificial…
Understanding the various ports on your computer is essential for connecting external devices and expanding its functionality. Modern computers come equipped with a variety of ports, each designed for specific tasks, such as transferring data or providing power to peripherals. In this guide, we will explore the different types of ports found on a typical…