Connecting a hardware device to your computer is key. It needs careful steps to work right. Up to 10-15% of users face problems with this. So, it’s important to follow a guide to avoid issues.
A good connection ensures your computer works well. Knowing about device compatibility, driver installation, and troubleshooting is essential. This knowledge makes a big difference.
For a successful connection, check if the device fits with your computer. Look at the device’s specs and make sure drivers are installed. These steps help avoid problems and make setting up your computer easy.
In this guide, we’ll cover how to connect a hardware device. We’ll talk about checking compatibility, installing drivers, and solving common problems. By the end, you’ll know how to connect your devices and set up your computer smoothly.
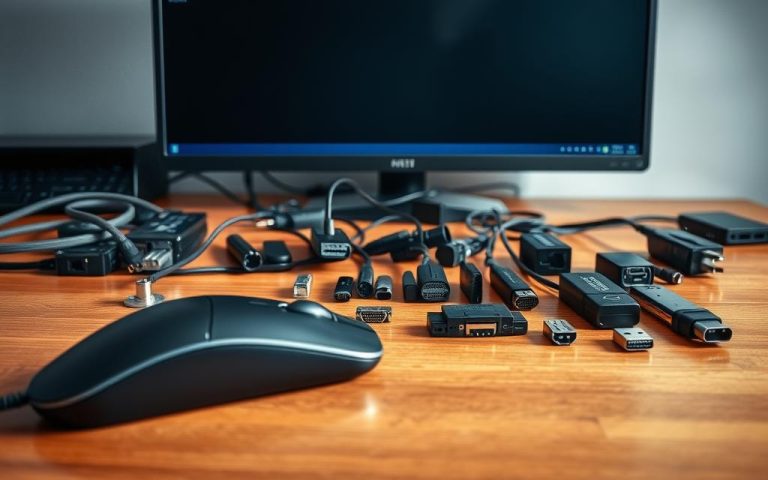
Connecting hardware devices to a computer needs a basic understanding. You must know the different hardware connection types and what they need. This includes finding the right connection ports and checking if devices are compatible. With many choices, picking the right connection can be tricky.
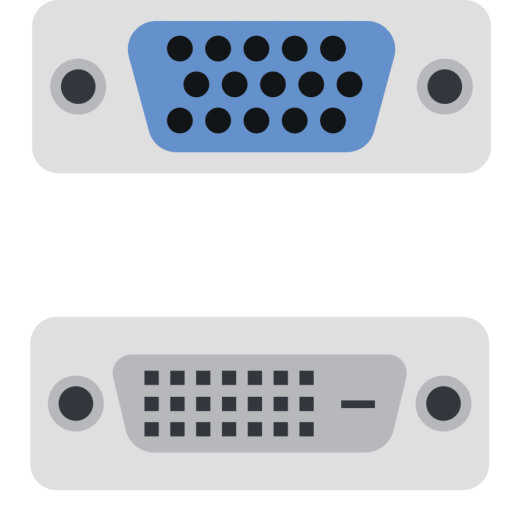
Ports are a key part of hardware connections. You’ll find USB, HDMI, and Ethernet ports often. Each port is designed for certain devices. For instance, USB ports are for things like keyboards and mice. HDMI ports are for displays and projectors.
To make sure devices work together, check their specs. Look at the port type and power needs. Knowing the basics of hardware connections helps for smooth and efficient connections.
Some important things to think about with hardware connection types are:
Speed and bandwidth needs
Power use and management
Signal quality and how it’s affected by interference
Understanding these points helps users make better choices. This ensures devices work well together and perform at their best.
Essential Safety Precautions Before Connection
Connecting a hardware device to your computer needs safety precautions to avoid damage. Make sure you’ve taken the right steps before you start the device installation.
To stay safe from electric shocks, burns, cuts, and eye injuries, wear gloves, goggles, and antistatic wristbands. Rubber-soled shoes are also a must. It’s important to discharge static electricity to protect sensitive parts like memory chips and hard drives.
Back up important data before any troubleshooting to avoid data loss.
Use the correct tools for specific tasks to prevent injuries and prolong repairs.
Keep track of screws and components to avoid losing parts and ensure correct reassembly.
A clean and organized workspace helps you work better and keeps you safe. Regular cleaning, like dusting CPUs, stops hardware failures. By following these safety precautions and steps during device installation, you’ll connect safely and successfully.
Remember, safety precautions are key to avoid injuries and damage during device installation. Being careful and taking the right steps ensures a safe and successful connection.
Safety Precaution
Importance
Wearing protective gear
Prevents electric shocks, burns, cuts, and eye injuries
Discharging static electricity
Reduces the risk of damage to sensitive components
Backing up important data
Prevents data loss during troubleshooting
Preparing Your Computer for New Hardware
To make sure your computer is ready, check the system requirements and operating system compatibility of the new hardware. This is key to avoid any installation problems. About 25% of hardware installs face issues, mainly because of wrong drivers or outdated specs.
Here’s a checklist to get your computer ready for new hardware:
is key to avoid problems. This means removing old drivers and adding new ones. By doing this, you’ll have a smooth installation of your new hardware.
How to Connect the Hardware Device to the Computer
To connect a hardware device to your computer, follow a few steps. First, you need to physically connect it. Then, install the drivers. Lastly, set it up. Doing these steps right helps avoid problems.
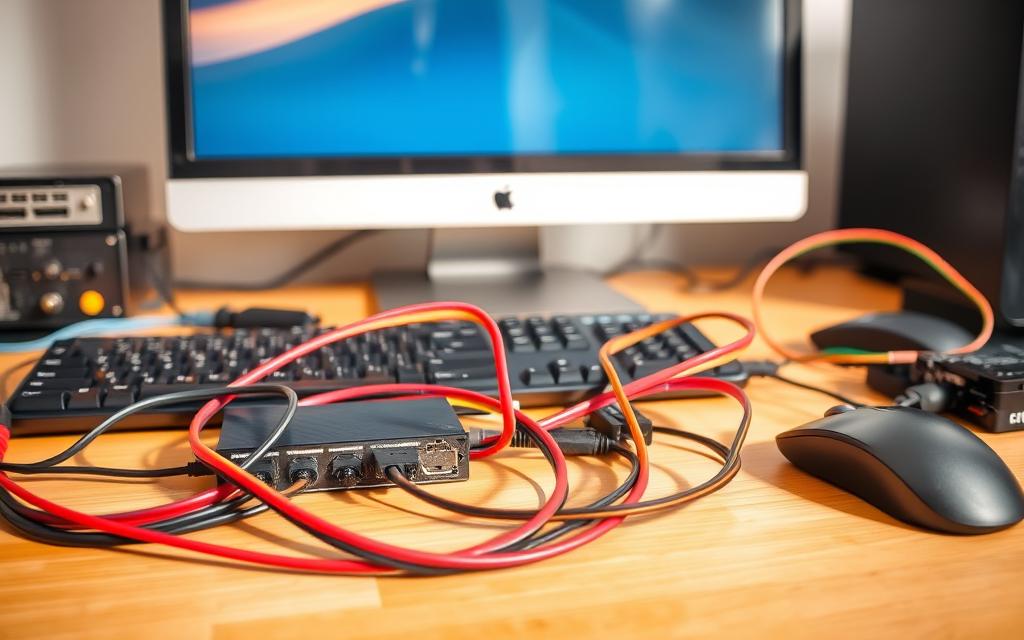
Connecting the device physically is the first step. You need to find the right ports and handle the device carefully. After connecting, you must install the drivers. This lets your computer talk to the device.
Physical Connection Process
Be careful when connecting the device. Check the manual for specific instructions. Each device is different. Once connected, your computer should find the device, starting the driver installation.
Driver Installation Steps
Start the driver installation through the device manager or the installation disc. It’s important to use the right drivers. Wrong or old drivers can cause problems and affect how well the device works.
Initial Setup Configuration
After installing the drivers, set up the device. This means adjusting its settings for the best performance. By following these steps, you can connect your device and use it efficiently.
Troubleshooting Common Connection Issues
When you face connection issues, it’s key to follow a clear plan to find and fix the problem. Troubleshooting means going through steps to figure out and solve the issue. This makes sure the device compatibility isn’t the main cause.
To start fixing the problem, consider these steps:
Power cycle your hardware devices for at least 60 seconds to resolve simple network issues
Check your computer’s IP address, and if it starts with 169, it may indicate that the computer is not receiving a valid IP address
Use tools like NetPath™ and PerfStack™ to gain detailed visibility into network topology and performance pathways
Also, tweaking event and security logs can help spot the problem’s source. It’s vital to watch network performance with tools like SolarWinds NPM. This helps avoid IT staff overload and quickly spots network problems.
Sometimes, device compatibility problems can pop up. It’s important to check if the device works well with your computer and network. By following these steps and using the right tools, you can quickly solve connection issues. This reduces downtime and keeps your business running smoothly.
Managing Device Drivers and Updates
Managing device drivers and updates is key for your system’s performance and security. Outdated drivers can cause hardware issues or slow performance. Signs you need updates include system crashes, faulty hardware, and slow performance.
Windows Update is the best way to keep drivers current. But, using Device Manager gives you more control. It’s great for fixing driver conflict resolution problems, where devices fight for the same resources.
Key points for managing drivers and updates include:
Automatic driver updates through Windows Update
Manual driver installation using Device Manager
Resolving driver conflicts by assigning resources such as interrupt request (IRQ) line numbers, direct memory access (DMA) channels, input/output (I/O) port addresses, and memory address ranges
Keeping drivers updated and managing conflicts ensures your system works well. This is vital for devices needing driver updates to work right. By following these tips, you can avoid hardware problems and keep your system running smoothly.
In summary, managing device drivers and updates is critical for your system’s health. Using Windows Update and Device Manager helps keep drivers current and fixes conflicts. This prevents hardware issues and ensures your system works without a hitch, making it a key part of system care and driver conflict resolution.
Resource Type
Description
Interrupt Request (IRQ) Line Numbers
Used to manage interrupts from hardware devices
Direct Memory Access (DMA) Channels
Used to manage direct memory access for hardware devices
Input/Output (I/O) Port Addresses
Used to manage input/output operations for hardware devices
Memory Address Ranges
Used to manage memory allocation for hardware devices
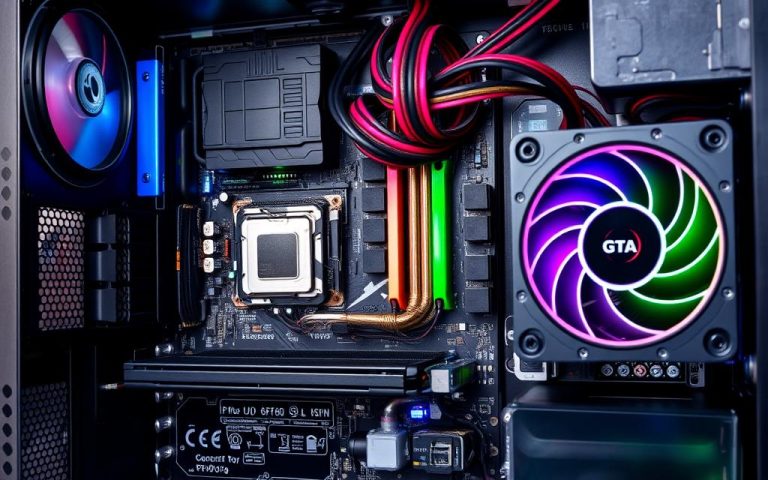
Optimising Hardware Performance
To get the best out of your hardware performance, you need to think about a few things. This includes device configuration and keeping your system optimised. Make sure your drivers are current, as old drivers can slow things down. Tools like Driver Booster can help, updating safely and avoiding malware.
When your system is optimised, you’ll see better hardware performance. You’ll also notice more stability and fewer crashes. Here are some ways to improve your system:
Keep your drivers updated to avoid problems
Adjust your device configuration for better performance
Use tools to check and boost system stability
Also, restarting your computer often can clear up RAM. Disabling programs that start up automatically can make your computer start faster. By doing these things and keeping your device configuration in check, you’ll see big improvements in hardware performance.
Being proactive with hardware performanceoptimisation and keeping your device configuration in top shape makes your computer work better. You’ll get a smoother and more efficient computing experience.
Best Practices for Hardware Maintenance
Regular hardware maintenance is key to keeping computers running well for longer. Doing system checks regularly can cut down on unexpected downtime by 50%. It also saves 12% to 18% on repair costs each year. Keeping hardware clean can stop dust from building up, which can slow things down by 30%.
Some important hardware maintenance tasks include:
Rebooting computers often to clear memory and refresh the system
Defragmenting the hard drive monthly to boost performance
Checking and managing startup apps to speed up your computer
Backing up data weekly to avoid losing it if the hard drive fails
Also, doing system checks regularly can spot hardware problems up to 70% before they get worse. This means doing routine diagnostic tests and watching how the system performs. By sticking to these hardware maintenance tips, you can make data transfers 20% faster and your network 35% more reliable.
Don’t forget the importance of cleaning and care for your hardware. This includes cleaning keyboards and monitors weekly, and a deep clean of all hardware every 3 to 6 months. This helps avoid damage and makes your devices last longer.
Hardware Maintenance Task
Frequency
Rebooting computers
Regularly
Defragmenting the hard drive
At least once a month
Checking and managing startup applications
Periodically
Backing up data
At least once a week
Conclusion
Connecting hardware devices to your computer needs careful planning and safety. This guide has shown you how to do it right. By following our steps, you can avoid common problems.
It’s key to keep your hardware compatible and drivers up to date. This ensures your devices work well together. A bit of preparation can prevent many issues and keep your work flowing smoothly.
As technology changes, knowing about device compatibility becomes more important. Stay informed and manage your hardware well. This way, you’ll get the most out of your devices. Happy computing!
FAQ
What are the essential steps for properly connecting a hardware device to a computer?
First, check if the device is compatible. Then, install the needed drivers. Lastly, follow safety tips for a good connection.
How can I identify the correct connection ports for my hardware device?
Learn about the different connections and what they need. Make sure you know the right ports on both the device and your computer.
What safety precautions should I take before connecting a hardware device?
Turn off your computer first. Ground yourself to avoid static. Handle the device carefully to prevent damage.
How do I prepare my computer for a new hardware installation?
Check if your system meets the requirements. Make sure your operating system is compatible. Have the drivers ready for easy installation.
What are the key steps in physically connecting a hardware device to a computer?
Find the right ports and insert the device gently. Follow a step-by-step guide for installing drivers and setting it up.
How can I troubleshoot common connection issues?
Look for compatibility problems and driver conflicts. Use the right solutions to fix these issues.
Why is it important to manage device drivers and updates?
Managing drivers ensures your devices work well. Keep them updated for the best performance and to avoid conflicts.
How can I optimise the performance of my connected hardware devices?
Adjust settings, update drivers, and check performance. This helps keep your devices running smoothly.
What are the best practices for hardware maintenance?
Regularly check your system and clean your devices. Monitor their performance to prevent problems and keep them reliable.
Computer performance testing helps users understand and improve their system’s capabilities. Hardware benchmarking assesses a computer’s efficiency and identifies areas for enhancement1. Modern computers rely on complex hardware components that affect speed and responsiveness. Processor speed, measured in MHz and GHz, indicates CPU cycles per second1. For optimal Windows performance, processor speeds should exceed 1.5GHz2….
Knowing your computer’s hardware specs is key for better performance and fixing problems, as Windows Central points out. You can find your computer’s hardware details in several ways. This guide will show you how to check your computer’s specs. It helps you make smart choices about upgrades and care for your computer. This guide will…
Modern technology relies on external devices to enhance a system’s capabilities. These tools act as bridges between users and digital processing, making tasks smoother and more efficient. From keyboards to printers, these components serve critical functions in homes and offices. They expand a machine’s potential, enabling everything from document creation to high-quality video playback. Sydney…
Computer hardware is the core of any computer system. It includes all the physical parts that work together smoothly. To really understand computer hardware, we need to know the basics. This includes the different parts of a computer and how they work together. At the heart of every computer is a complex mix of components….
For PC enthusiasts, knowing about computer hardware is key to enjoying their systems fully. Computer hardware includes the physical parts of a computer system. Learning about it can be very useful. There are four main types of computer hardware: input, output, processing, and storage devices. These work together to make a complete computer system. Computer…
Computer engineers use many design tools to make new hardware models. They aim for efficient design and development. The computer engineering webpage shows how important hardware modeling is. They use tools like CAD software and HDL to make their designs real. Hardware modeling is key for complex systems. Computer engineers need the right tools for…