How to Replace USB Ports on a Computer
USB ports are vital in today’s tech world. They connect devices like hard drives, keyboards, and smartphones to computers. This article will show you how to replace USB ports on both desktop and laptop computers. You’ll learn about common problems, how to fix them, and step-by-step instructions for replacement. Knowing how USB ports work and when to replace them empowers users to fix their computers and solve connectivity issues.
Introduction to USB Ports and Their Functionality
USB ports are key parts of modern computers. They connect many devices, enabling data exchange and powering them. Knowing how USB ports work is important for fixing or upgrading computer hardware.
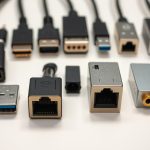
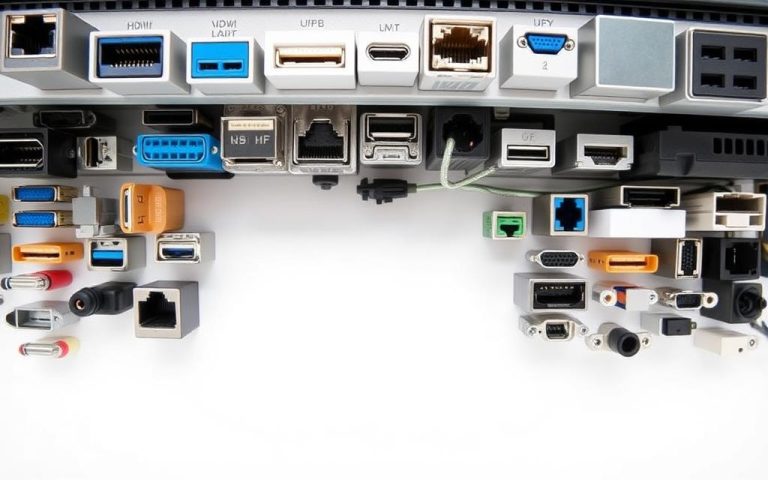
Different USB types meet different needs. Common ones are USB-A, USB-B, and USB-C. USB-A is widespread across devices. USB-B is often used for printers. USB-C is known for fast transfer rates and power delivery.
USB technology has grown rapidly. USB 1.0 started with speeds of 1.5 Mbit/s. USB 2.0 jumped to 480 Mbit/s. Now, USB 3.0 and USB 3.2 offer even faster rates—up to 20 Gbps. USB4 goes up to 40 Gbps.
The capability of USBs to supply power has also improved. From 2.5 W with USB 2.0 to up to 240 W with the newest standards. This makes USBs a strong power source for many devices.
Understanding the varieties of USB and their functions in data and power is vital. This knowledge is crucial for computer maintenance or enhancements.
| USB Version | Data Transfer Speed | Power Supply Capability |
|---|---|---|
| USB 1.0 | 1.5 Mbps / 12 Mbps | 2.5 W |
| USB 2.0 | 480 Mbps | 2.5 W |
| USB 3.0 | 4.8 Gbps | 4.5 W |
| USB 3.1 | 10 Gbps | up to 100 W |
| USB 3.2 | up to 20 Gbps | up to 100 W |
| USB4 | up to 40 Gbps | up to 240 W |
Diagnosing USB Port Issues
Diagnosing USB port issues is all about spotting the first hints of trouble. This includes devices not being detected as they should or seeing unexpected error messages. To tackle these issues, a mix of checking things over visually and using software tools is key.
Identifying Faulty USB Ports
Spotting a faulty USB port starts with looking at it closely. Check for signs like bent connectors or dust. Before doing anything complex, make sure the USB device is actually plugged in properly. Here are a few tips to follow:
- Ensure the USB device is firmly connected.
- Inspect the USB port for dirt and clean carefully.
- Utilise a different USB port to determine if the issue is isolated.
- Consider restarting the PC; this can resolve temporary glitches.
Updating device drivers often fixes lots of USB-related issues. It’s also good to adjust how your computer manages its power. For instance, stopping it from turning off USB devices to save power can really help.
Testing USB Devices and Connections
To test USB connections, the Windows Device Manager is your go-to. It can show if there are any device or driver issues. To properly check everything, do the following:
- Open Device Manager and locate the USB section.
- Right-click on the USB host controller and select ‘Update Driver’.
- Test the USB device on another computer if possible.
- Consider updating BIOS firmware, as this can eliminate various connection issues.
Finding the root of USB trouble might show if it’s the port or device at fault. If changing settings doesn’t help, hardware tests could highlight deeper problems. These steps should help you figure out what to do next.
| Common USB Issues | Potential Causes | Recommended Solutions |
|---|---|---|
| Device Not Detected | Faulty USB ports or damaged cables | Inspect connections and try different ports |
| Slow Data Transfer | Outdated drivers or power management settings | Update drivers and adjust settings |
| Error Messages | Corrupted drivers or faulty devices | Reinstall drivers or test with different devices |
| Random Disconnects | Power supply issues or power-saving settings | Check power supply and disable power-saving features |
Can You Replace USB Ports on a Computer?
It’s possible to replace USB ports on computers, though how easy it is depends on the type of computer. Desktops usually have boards you can get to easily, making it simple to change a USB port. This means a technician can swap a faulty port without much trouble.
But, fixing USB ports on laptops is often more complex. Many laptops have USB ports built into the motherboard, which means you have to solder to replace them. Yet, some laptops have USB ports on separate boards, making it easier to replace them without soldering. Knowing your computer model and the type of USB port is key for understanding how to fix it.
Let’s consider a few important points:
- USB ports not working is a common problem.
- To troubleshoot, try using different ports, change the cables, and clean the connectors.
- You can fix some USB issues by restarting your devices or scanning for hardware changes.
- USB-A, USB-B, and USB-C connectors have their own roles in fixing electronics.
Deciding if you can replace a USB port requires knowing the specifics of the repair work. Technicians must use the right strategy to make sure they fix the port properly. This ensures the device works well again.
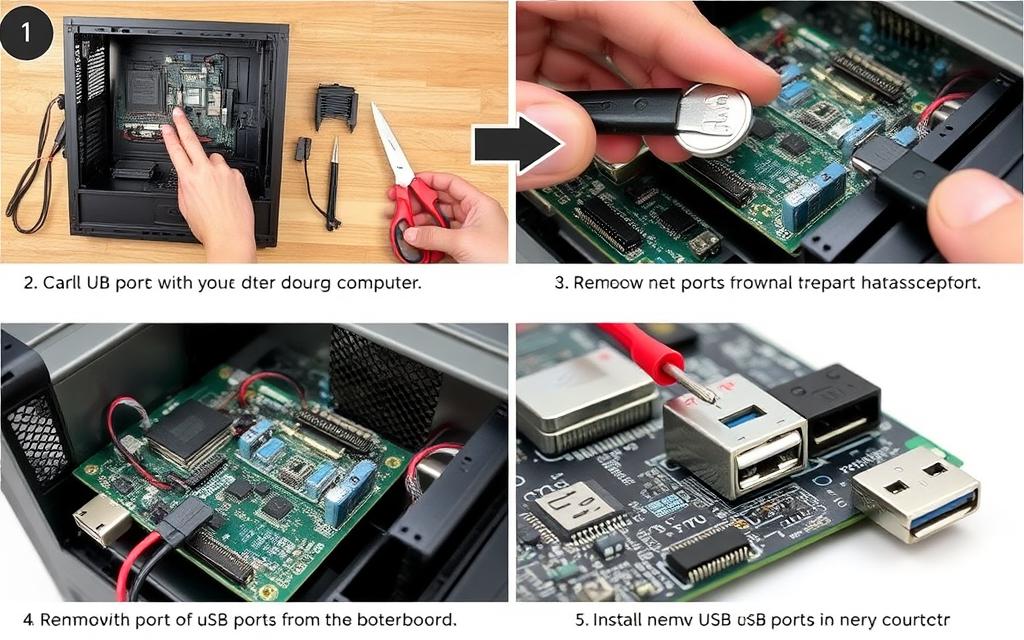
Steps for Replacing USB Ports on a Desktop Computer
Fixing a USB port on your desktop might look tough. Yet, with the right steps and tools, it’s quite simple. Just follow these instructions for a smooth USB port replacement.
Gathering Necessary Tools and Parts
First, gather all tools for USB replacement and parts for USB port needed for the job. You will need a few computer repair tools, including:
- Screwdrivers (Phillips and flathead)
- Pliers
- Soldering equipment (if needed)
- Anti-static wrist strap
Also, make sure to have the right USB port board ready. You can find the part numbers on sites like HP or Dell. They will help you find the correct pieces online.
Disassembling Your Computer Case
To get inside, you must disassemble the computer safely. First, cut the power to stay safe. Then start removing the computer case by:
- Unscrewing the side panel.
- Using a flathead screwdriver or plastic tool to open the case.
- Being careful not to harm any hardware.
This gives you access to the computer’s inside, where the USB port board is.
Removing the Old USB Port Board
With the case open, focus on removing the USB port board. First, unplug any related cables. Then unscrew and take out the old board carefully. Make sure there’s no debris that could mess with the removal process.
Installing the New USB Port Board
Now, fit the new port in place and screw it securely. While installing the new USB port, ensure all connections are tight. After putting it in, double-check everything. Loose connections can cause issues later.
Steps for Replacing USB Ports on a Laptop
Replacing USB ports on a laptop needs careful steps because of the compact design. Knowing the laptop’s layout and USB port location is key. These next parts will show you the steps you need.
Understanding the Laptop’s Internal Design
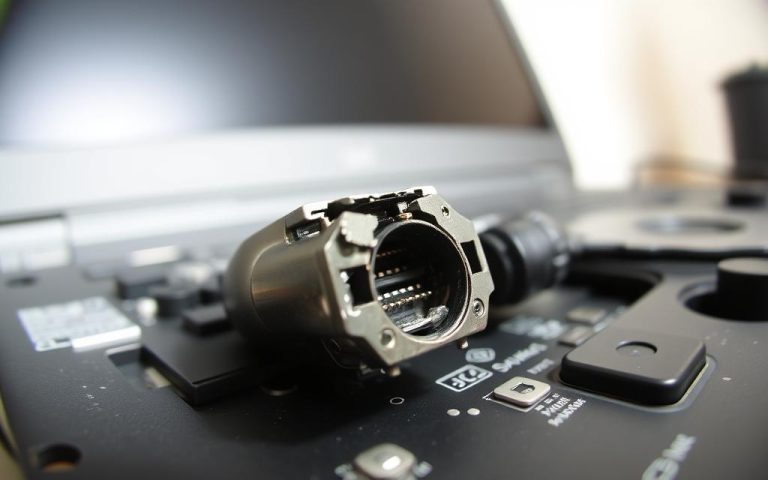
Laptops are different from desktops as USB ports are often soldered on the motherboard. Damage usually comes from knocks or debris. This makes replacing them harder than just swapping parts out. Knowing your laptop’s inside parts is crucial for repairs.
Disassembly Procedure for Laptops
Disassembling carefully is important in laptop repair. The steps usually are:
- Switch off the laptop and unplug it.
- Take out screws on the base and open the casing with care.
- Unplug parts like the hard drive, RAM, and the optical drive.
- Remove things like the keyboard and trackpad to see the motherboard.
Staying organised is key to keeping track of parts and screws. A detailed repair guide will help you not miss anything important in this complex structure.
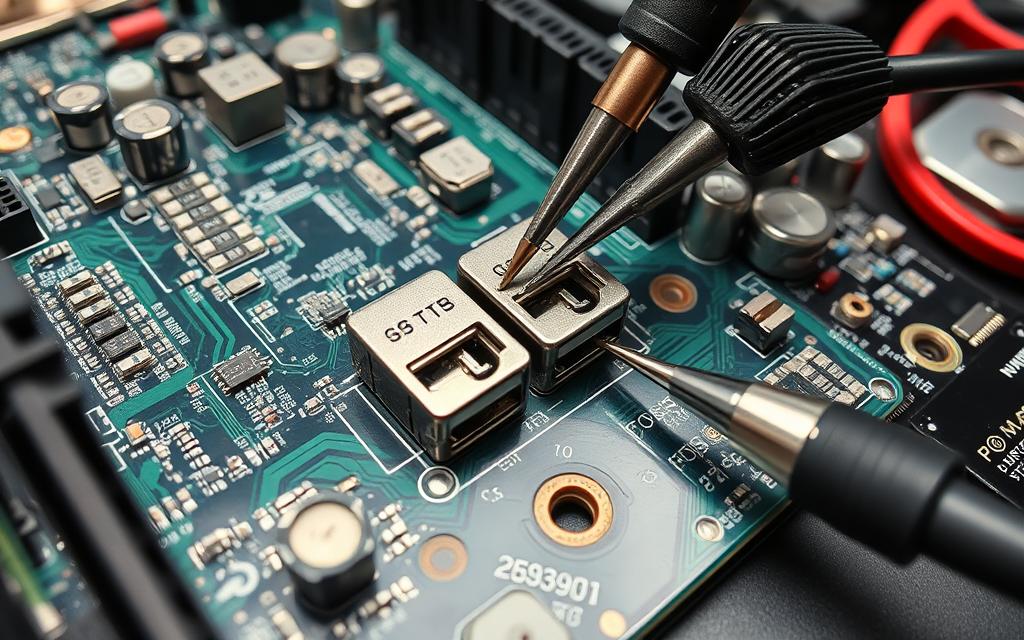
Soldering Techniques for USB Port Replacement
To replace a damaged USB port, soldering is the main task. For effective soldering:
- Warm the solder at the old points to loosen it.
- Use a suction tool to take out the broken port.
- Put in the new port correctly.
- Warm the solder again to fix the new port and let it cool.
If you’re new to soldering, try practicing on spare materials first. Getting better at fixing USBs will make future repairs easier.
Reassembly and Testing the New Ports
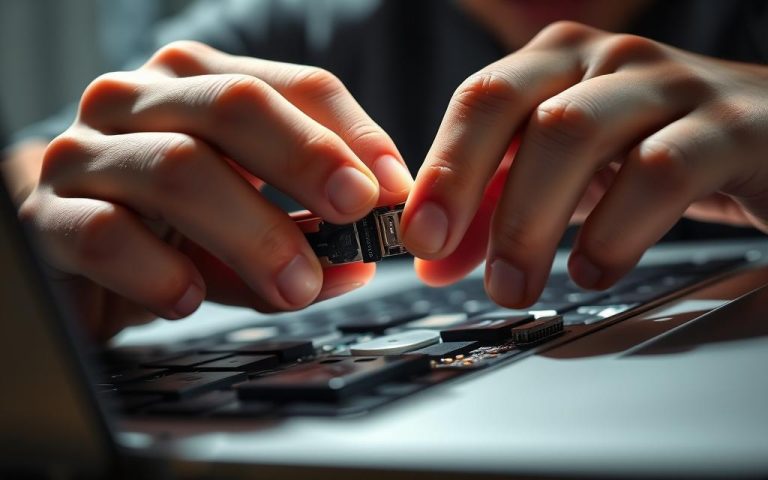
After soldering, reassemble the laptop carefully. Follow the disassembly steps backwards. Before sealing it, test the new USB ports with a USB device. Checking if they work correctly is critical for a successful repair.
If problems remain, getting professional advice is a smart move. More troubleshooting might be needed. Practice with electronics will also improve your repair skills for laptops and computers.
Understanding the step-by-step process for replacing parts in a laptop helps avoid problems. This knowledge can also help your device last longer.
Conclusion
Learning how to replace a USB port boosts your computer fixing skills. This guide covered essential steps for fixing both desktop and laptop USB ports. It showed the need for the right tools and methods. By being cautious and eager to learn, most people can fix their own USB problems. This lets them take care of their tech over time.
We’ve looked at why USB ports might stop working, like power spikes or dirt build-up. It’s vital to keep ports clean to avoid these issues. This summary proves that with some effort, anyone can tackle these repairs. It encourages a can-do attitude towards handling technology problems.
Though you may face tough bits like tricky soldering, fixing a USB port is rewarding. This DIY method saves money and boosts your confidence in fixing tech issues. A USB port in good condition is key for connecting many devices smoothly every day.
FAQ
What types of USB ports are there?
You can find several USB port types, like USB-A, USB-B, and USB-C. They are used for tasks like transferring data and powering up devices.
How can I diagnose if my USB port is faulty?
Check the USB port for any physical damage first. Try different devices in the port. If your computer doesn’t recognize any devices, or you see error messages, the port might be faulty.
Is it feasible to replace USB ports on both desktops and laptops?
Indeed, replacing USB ports on desktops is quite doable because you can easily get to the parts. But, it’s trickier with laptops. Their compact design and integrated parts make the job harder.
What tools do I need to replace a USB port?
You’ll need basic tools like screwdrivers and pliers. If soldering is involved, soldering equipment is necessary too. Make sure to use the correct tools to prevent any damage.
How should I proceed if my laptop’s USB ports are not working?
Start by checking the USB ports for dirt or physical damage. Then, test them with various devices. If they still don’t work, you may need to look inside your laptop for hardware issues.
Can I practice soldering techniques before replacing USB ports?
Definitely! Practicing soldering on scrap pieces before working on USB ports is wise. This practice helps you get used to soldering and minimizes the risk of damaging your device.
How do I reassemble my computer after replacing the USB port?
Put everything back together carefully. Make sure all parts are correctly connected and aligned. After reassembly, turn your computer on. Check if the new USB ports work correctly.
